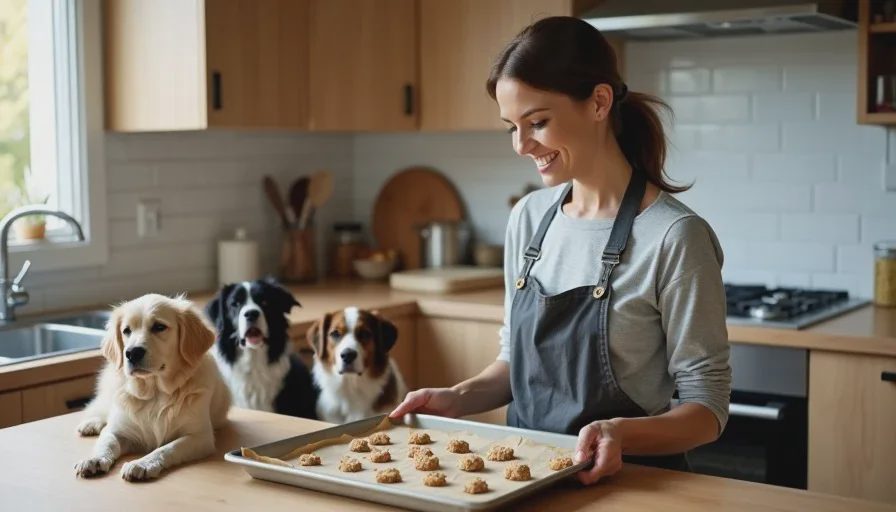
I started making homemade dog treats recipes because I was tired of standing in the pet store aisle, squinting at ingredient labels, and feeling like I needed a chemistry degree to understand what I was feeding my dogs. I also got tired of paying eight dollars for a bag that disappeared in four days. What I didn't expect was how easy it would be to make treats at home with ingredients I already had, and how much better my dogs would do on them. Four rescue dogs, one picky senior, and a long history of sensitive stomachs in this house—these are the cheap dog treats that have survived the test of time.
That said, homemade doesn't automatically mean healthy. I learned that the hard way when I made a batch of treats with an ingredient I should have checked first. So before I share my three regular recipes, let me tell you what happened, because it's the reason I'm so careful about what goes in the treat jar now.
Why I Stopped Buying Most Packaged Treats
The tipping point for me was a bag of "natural" training treats that gave Biscuit diarrhea for two days. The ingredients looked fine at first—chicken, rice, some preservatives I couldn't pronounce—but something in there didn't agree with him. I started reading labels more carefully and realized a lot of commercial treats are packed with fillers, sugars, and fats that don't do a dog any favors. I'm not saying all packaged treats are bad. I'm saying I got tired of guessing.
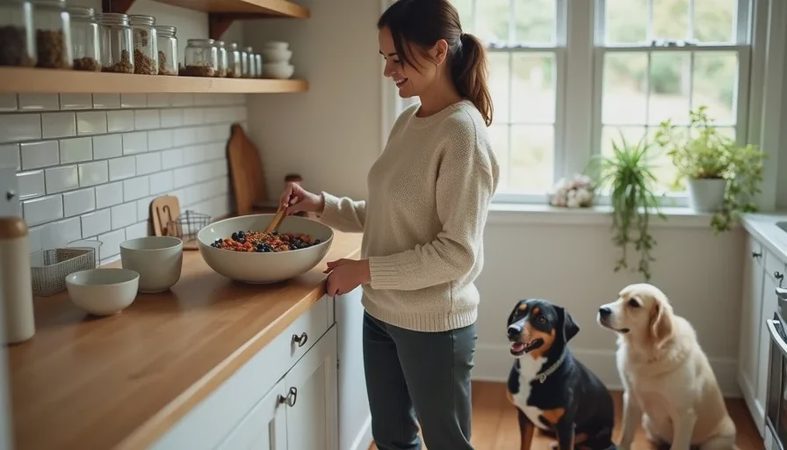
Making healthy dog treats at home gives me two things: control and simplicity. I know exactly what's in them, I can adjust for each dog's needs, and I can make a week's worth for a fraction of the cost. It takes twenty minutes on a Sunday afternoon, and the dogs don't seem to mind that their treats don't come in a crinkly bag.
The other thing I've learned is that DIY dog treats don't need to be complicated or beautiful. They don't need a bone-shaped cookie cutter. They don't need four kinds of flour. The dogs care about smell and taste, not presentation. That realization took the pressure off and made treat-making feel like something I actually wanted to do, not another chore.
Three Treat Recipes I Actually Make
These are the three I come back to most often. They're cheap, fast, and use ingredients I almost always have. All of them have been tested on my four dogs, plus the occasional foster, with no vet visits required.
Frozen Pumpkin-Yogurt Bites
This is the easiest one, and it's especially good for hot days or for dogs who need a little help with their digestion. Plain pumpkin is gentle on the stomach, and plain yogurt gives a little boost of probiotics.
What you need:
1 cup plain pumpkin puree (not pie filling)
1/2 cup plain, unsweetened yogurt (check for no xylitol)
A silicone mold, ice cube tray, or a few small paper cups
How to make them:
Stir the pumpkin and yogurt together in a bowl until smooth.
Spoon or pour the mixture into the molds or ice cube tray.
Freeze for at least three hours.
Pop one out and let it soften for a minute before serving if you have a senior dog or a small dog.
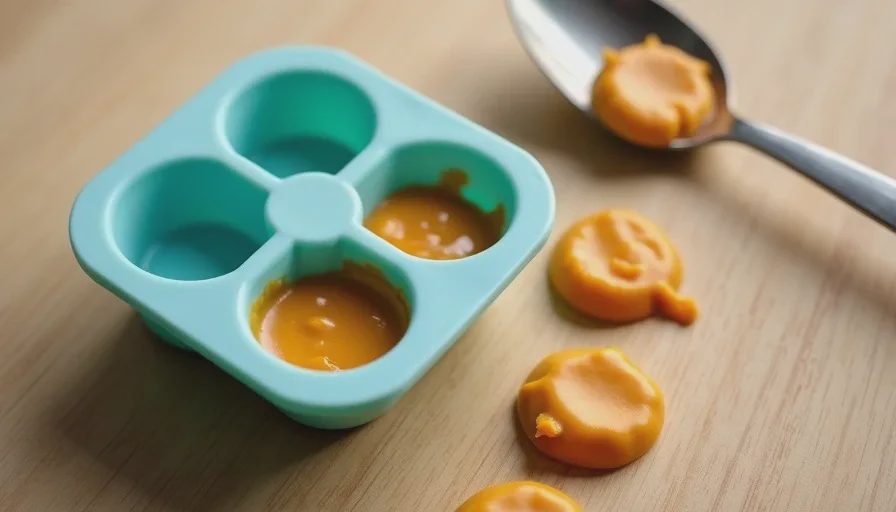
I make these in small silicone molds, and each bite is about the size of a quarter. For a large dog, I'll sometimes freeze bigger portions in paper cups. The dogs get one as an afternoon snack or after a hot walk. Biscuit, who has dental issues, gets his portion slightly thawed. The cats, because they refuse to be left out, occasionally get a tiny smear on a plate.
Simple Chicken or Turkey Jerky
This is a two-ingredient easy dog treat that stores well and works great for training. I use it as a high-value reward when I need a dog to pay attention, and it's cheaper than the store-bought version.
What you need:
1 pound of boneless, skinless chicken breast or lean turkey
That's it. No oil, no seasoning, no salt.
How to make it:
Slice the meat as thin as you can. Slightly freezing it for thirty minutes first makes this easier.
If you have a dehydrator, use it. If not, set your oven to its lowest temperature, usually around 170°F to 200°F. You can also use an air fryer on a low dehydrate setting if you have one.
Lay the strips on a baking sheet lined with parchment paper, making sure they don't overlap.
Dry them in the oven for two to three hours, flipping once halfway, until the strips are dry and leathery but not brittle.
Let the strips cool completely before storing them. They keep in an airtight container in the fridge for about two weeks, or in the freezer for a couple of months. I cut them into small pieces for training and keep a little bag in my jacket pocket. The dogs have learned the sound of the bag from the next room.
No-Bake Oat and Peanut Butter Balls
This one is for the dogs who want something a little richer, and for the humans who don't want to turn on the oven. I make these in small batches because they're calorie-dense, and because my self-control around peanut butter is also questionable.
What you need:
1 cup rolled oats
1/2 cup plain, unsweetened peanut butter (check the label for xylitol—it's not common in peanut butter, but it can appear in some sugar-free products)
1/2 cup plain pumpkin puree or mashed banana
A pinch of cinnamon, if you want it
How to make them:
Mix everything together in a bowl until it forms a thick dough.
Roll the mixture into small balls about the size of a marble.
Refrigerate them on a plate for at least an hour so they firm up.
Store in an airtight container in the fridge for up to a week.
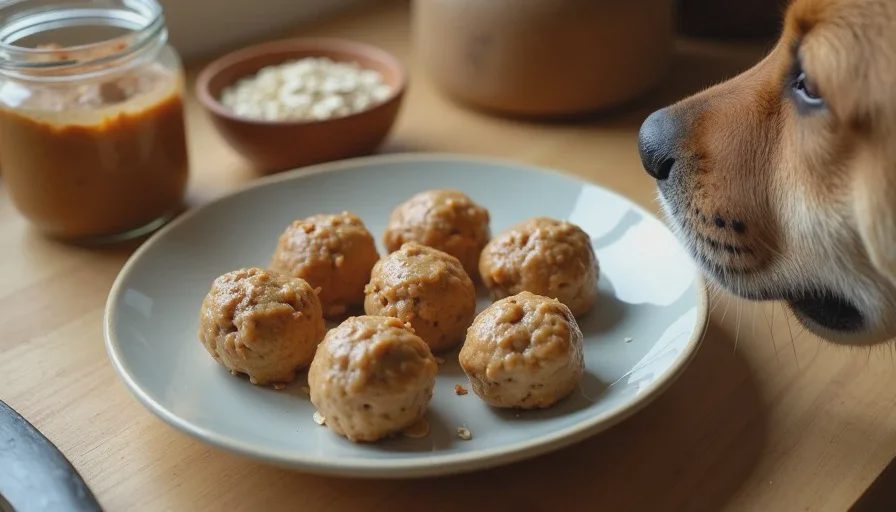
I use these as a monthly "payday treat" for the dogs who've been especially good—or as a way to hide a pill when Biscuit gets tired of his usual pill pocket. A single oat ball is usually enough to make him forget he's taking medicine.
The Ingredients I Keep Out of My Treat Jar
This is the part I wish I'd paid more attention to years ago. I made a batch of homemade treats once with a sprinkle of garlic powder because I thought it would add flavor. Waffles threw up within an hour. I called the vet, explained what happened, and was told exactly what I should have known before I started baking: garlic and onions are toxic to dogs in certain amounts, and "just a little" isn't worth the risk.
The list of things I never put in treats now includes:
Onions, garlic, chives, and leeks
Grapes and raisins
Chocolate and cocoa
Xylitol, which can appear in some peanut butters and sugar-free products
Macadamia nuts
Excessive salt, sugar, or artificial sweeteners
If I'm ever unsure about an ingredient, I look it up before I add it. I also keep the vet's number somewhere I can find it quickly, because no one wants to be googling "can dogs eat this" while their dog is throwing up on the kitchen floor.
Sizing, Storage, and Common Mistakes
Even healthy dog treats can cause problems if you feed too many or store them wrong. I learned a few of these lessons the hard way.
Size treats for the smallest dog in the house
I have dogs ranging from small to medium, so I make treats in pieces that even the smallest one can chew safely. A treat the size of a golf ball is fine for a big dog but a choking risk for a small one. I'd rather break things small and give two than give one that's too big.
Store everything in the fridge or freezer
Homemade treats don't have the preservatives that keep packaged ones shelf-stable for months. The jerky goes in the fridge, the frozen bites go in the freezer, and the oat balls get eaten within a week. If something starts to smell off or grow anything fuzzy, it goes in the trash.
Don't overdo the portions
A treat is still a treat. Even pumpkin and oats add calories. I keep treats to no more than about ten percent of each dog's daily food, and I reduce their regular meal a little on days when they've had more training treats than usual. The vet has never scolded me for feeding too few treats.
Watch for individual sensitivities
Just because an ingredient is safe for most dogs doesn't mean it's safe for your dog. I had a foster once who couldn't handle peanut butter. It gave him loose stool every single time. If you're trying a new treat, start small and watch for itching, ear scratching, digestive changes, or anything that seems off.
A Treat Is Still a Treat
I make homemade dog treats recipes because they're cheaper and because I like knowing what my dogs are eating. But I don't pretend they're some kind of health revolution. They're snacks. The real nutrition comes from their regular food, the daily walks, and the consistency of a home that doesn't change every week. Treats are just the fun part.
And there is something satisfying about watching a one-eyed dog do a slow, hopeful tail wag over a frozen pumpkin cube that cost about eleven cents to make. It's a small thing. But in a house full of rescued animals, the small things are usually the ones that stick.
Every good dog was once someone's "too much."
And every good dog deserves a treat that doesn't come with a list of unpronounceable ingredients.
Letters
No letters yet. Yours could be the first.